This post contains affiliate links through Amazon and Clean Simple Eats. I receive payments for clicks, purchases, and/or registrations made through affiliate links in this post. Please see our disclosure policy for more information.
Vanilla Root Beer Float Protein Ice Cream sounds amazing, doesn’t it? I absolutely love making ice cream in my Ninja CREAMI Deluxe and I’m always looking to create new flavors. Make it low fat AND protein and that’s a winner for me. As I was in a grocery store the other day, I saw a Root Beer Prebiotic Soda and a lightbulb went off. I decided to create a Ninja CREAMI Vanilla Root Beer Float Protein Ice Cream with it. I’m excited to announce that I am an new affiliate of Clean Simple Eats and will be incorporating their protein powder into my life on my health journey. Enjoy this Guilt-Free Delight: Vanilla Root Beer Float Protein Ice Cream (Ninja CREAMI) recipe.
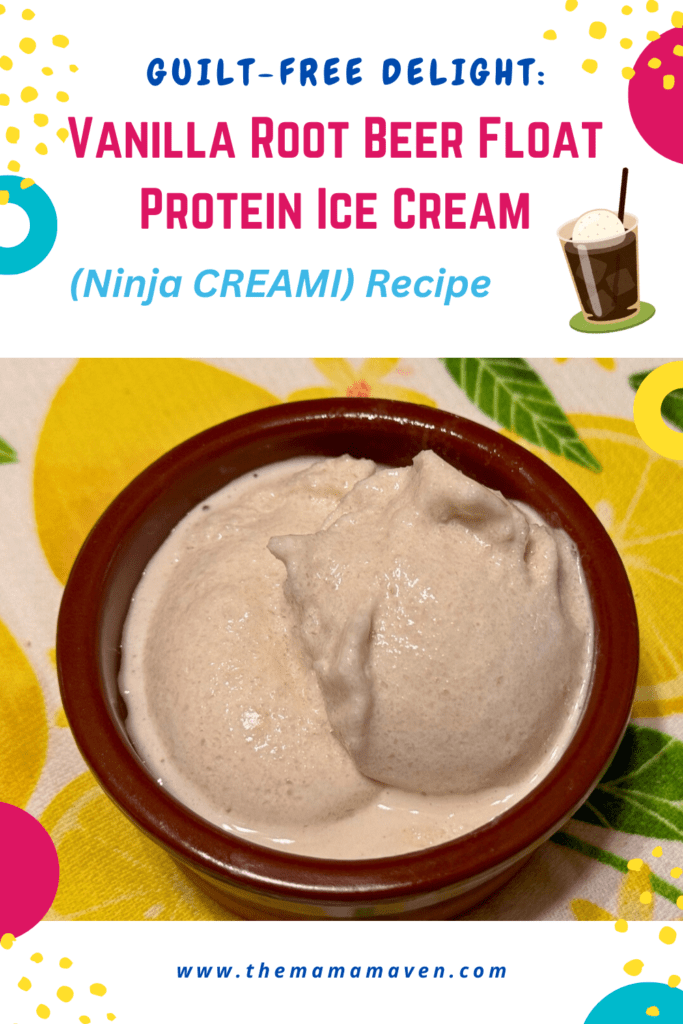
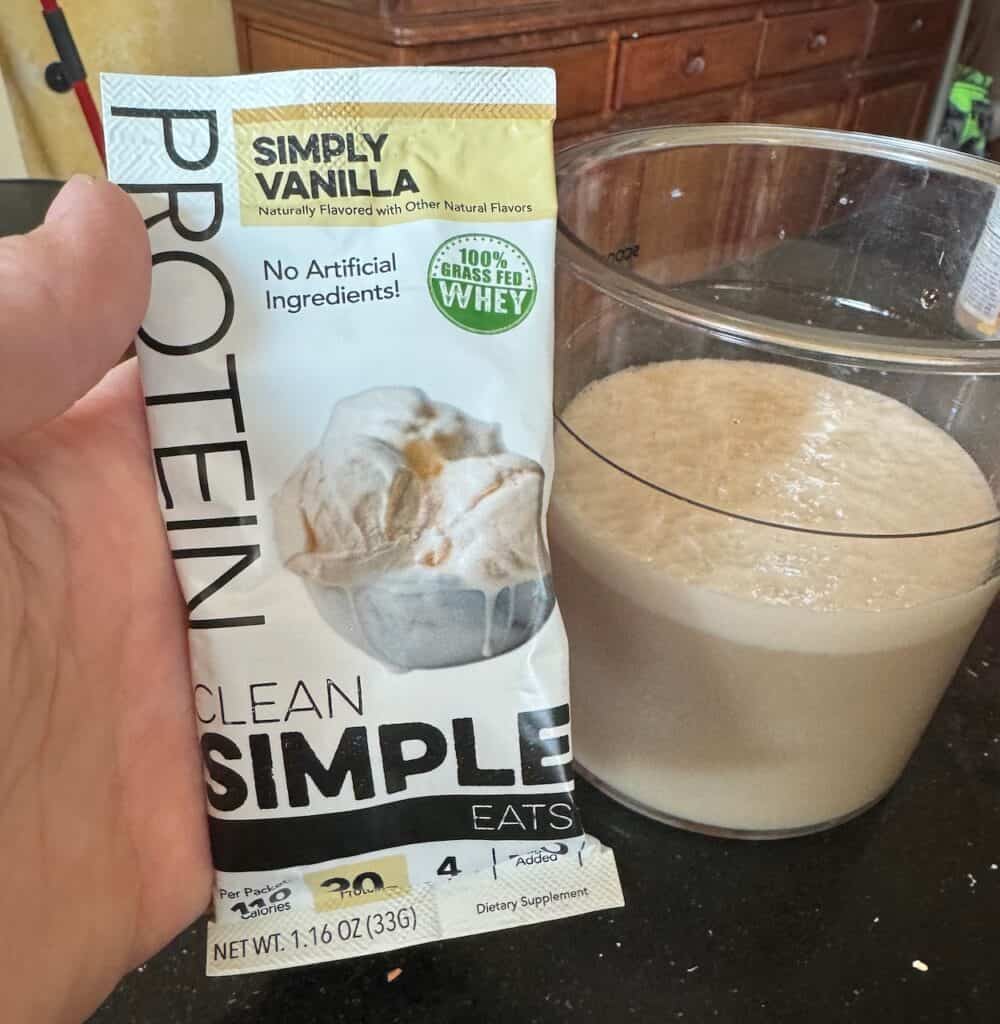
I chose Clean Simple Eats protein powder for a reason. With 20g of protein in each serving, it’s is made with all-natural ingredients, and a digestive enzyme blend. I am sensitive to dairy and this doesn’t hurt my stomach (win/win for me). It’s terrific for building muscle and post-workout recovery. Note: It does contain coconut (tree nut) and soy.
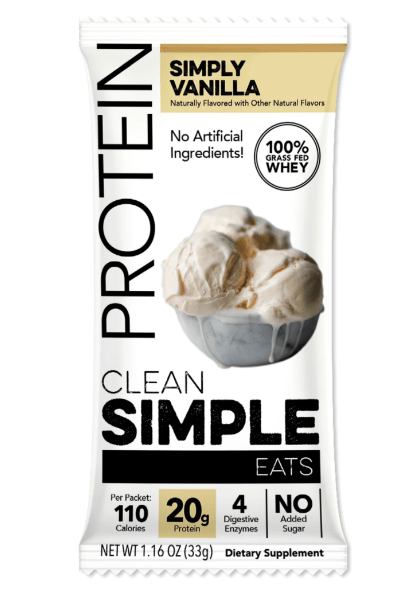
But the reason why you’re really reading this post – you want to make this guilt-free delight: Vanilla Root Beer Float Protein Ice Cream (Ninja CREAM recipeI).
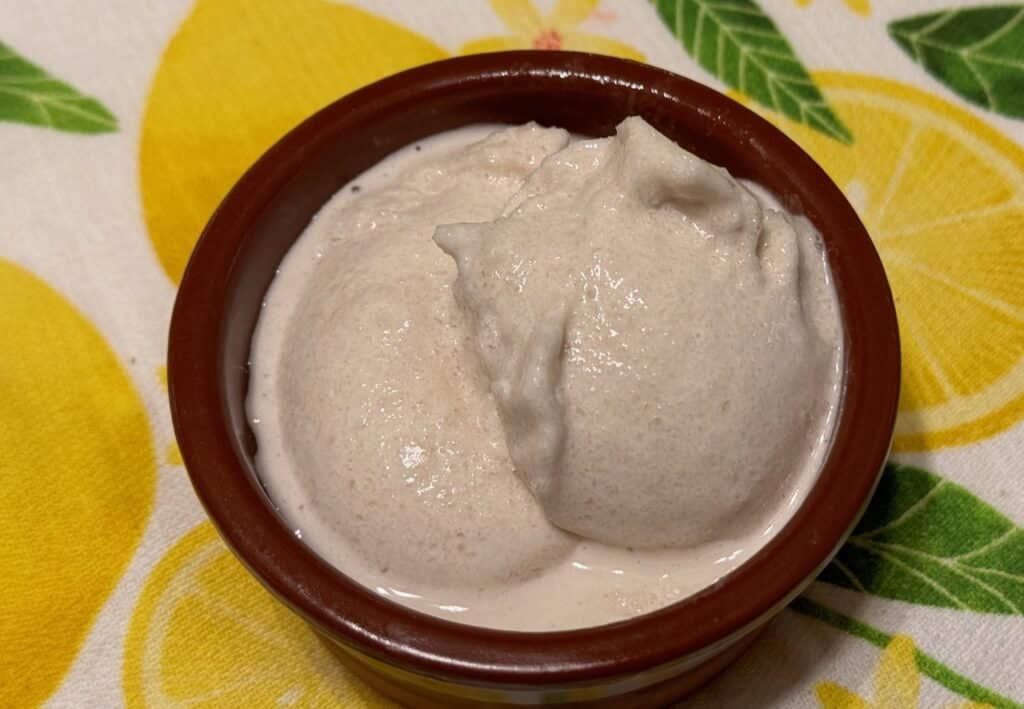
Ingredients:
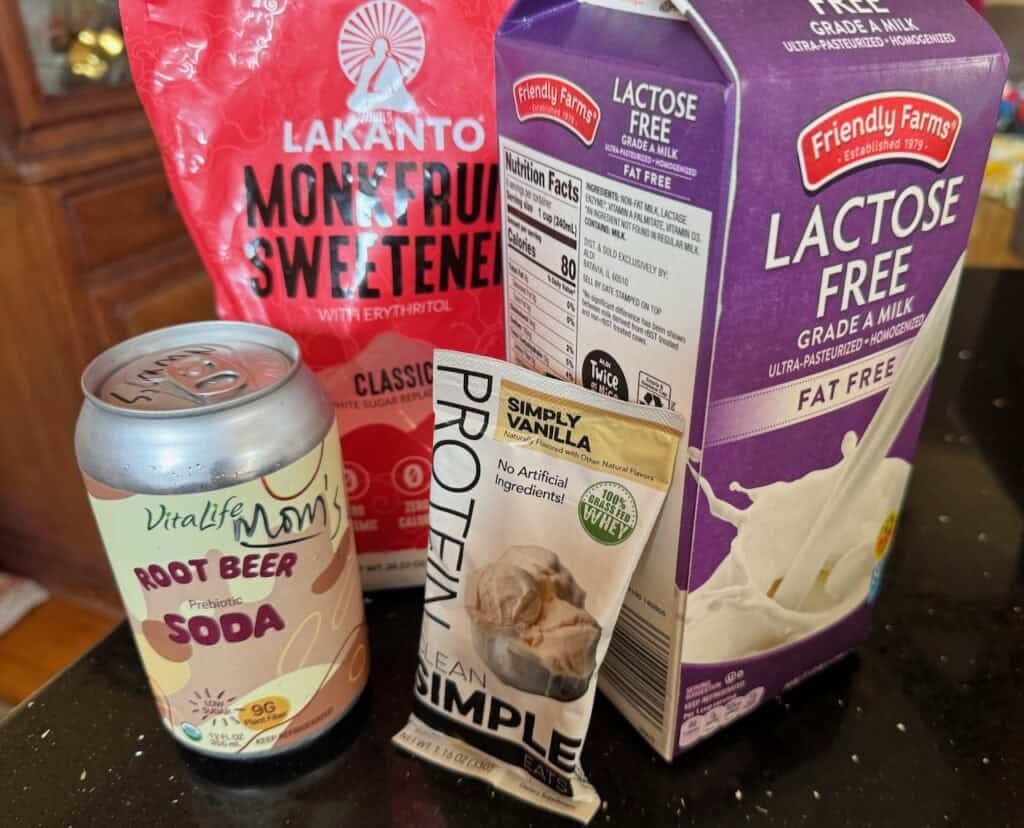
2 cups of skim milk (or any milk of your choice – nut milks are fine if you prefer them)
1 packet Clean Simple Eats Vanilla protein powder (1.16oz which is 33g). If you use the Clean Simple Eats Powder from a bigger container, that is one scoop!
1 teaspoon of vanilla extract
1/2 package of sugar free vanilla pudding mix
1 can of diet root beer (chilled). I used a probiotic version from VitaLife, but any kind is fine. You could also use a packet of sugar free root beer drink powder mix.
1 tbsp Lankanto Monkfruit Sweetner
Instructions:
Prepare the mix for your Ninja CREAMI: Mix all the ingredients – the skim milk, vanilla protein powder, vanilla extract, and the whole can of the root beer. Blend until smooth with your immersion blender – this is the one I use now – BELLA Immersion Hand Blender, Portable Mixer with Whisk Attachment .
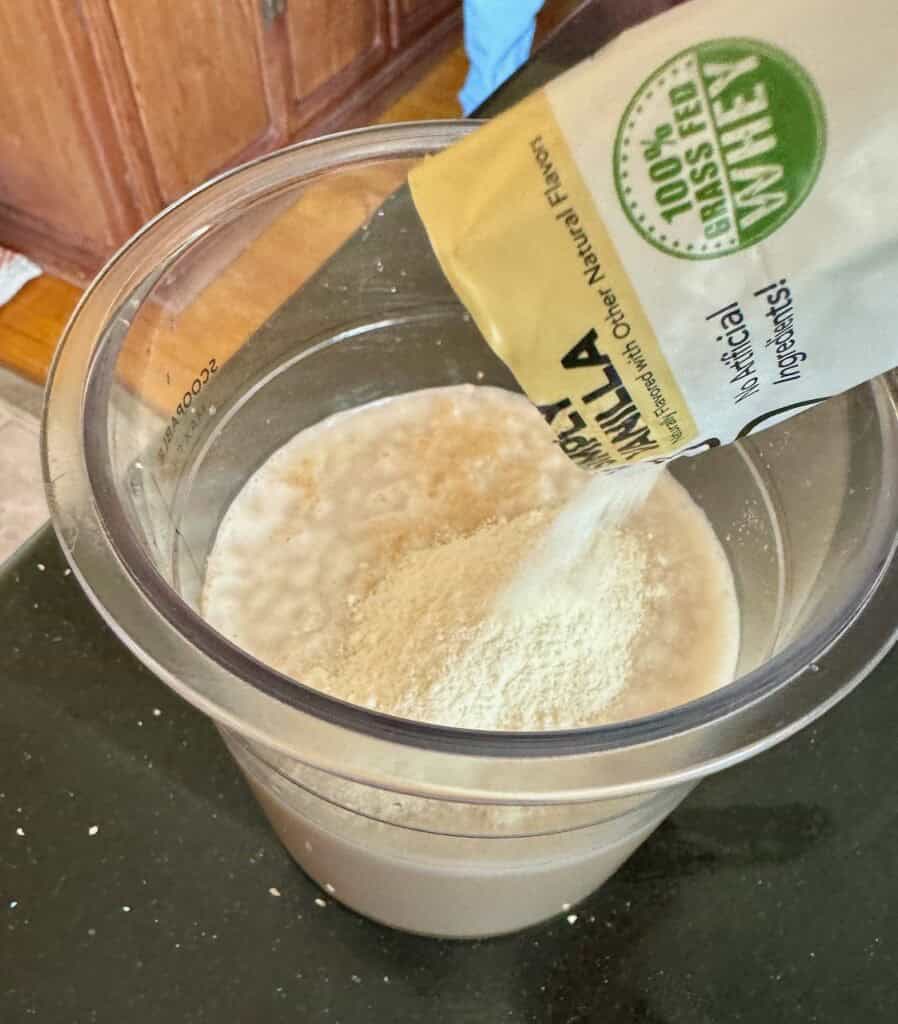
Chill the Mixture: Place the mixture in the refrigerator to chill for about 18-24 hours. I usually just put it in the freezer overnight.
Assemble the Ninja CREAMI: Once the freezer bowl is frozen and the mixture is chilled, assemble the Ninja CREAMI machine according to the manufacturer’s instructions.
Run your Ninja CREAMI: Make your ice cream in your Ninja CREAMI. I used the Lite Ice Cream setting (has 4 cycles). I ran it again on mix it 2 more times until it was smooth.
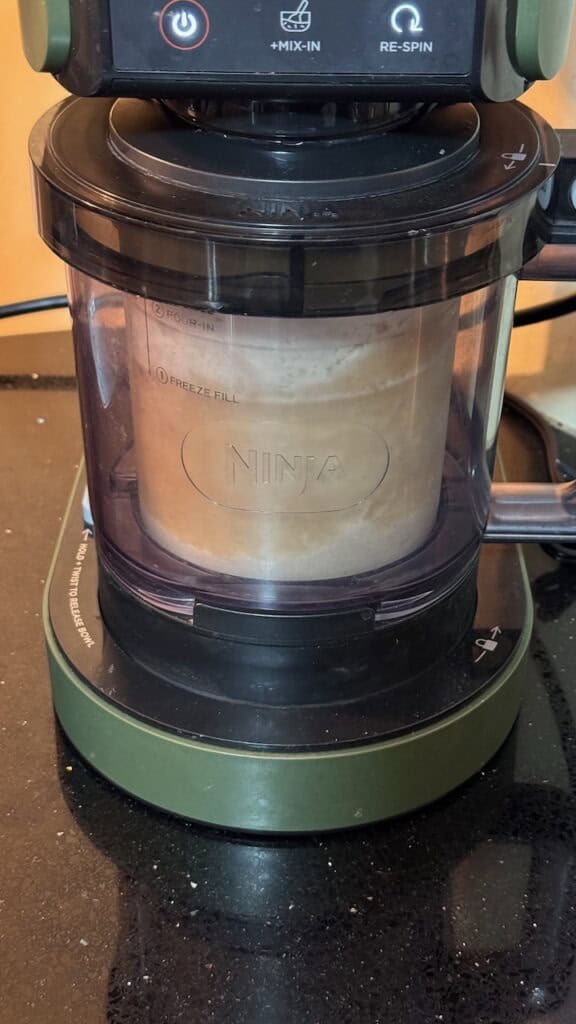
Serve and Enjoy: Serve immediately and enjoy your Ninja CREAMI Vanilla Root Beer Float Protein Ice Cream!
Feel free to adjust the sweetness level and the amount of root beer according to your taste preferences. Enjoy your delicious and protein-packed ice cream treat!
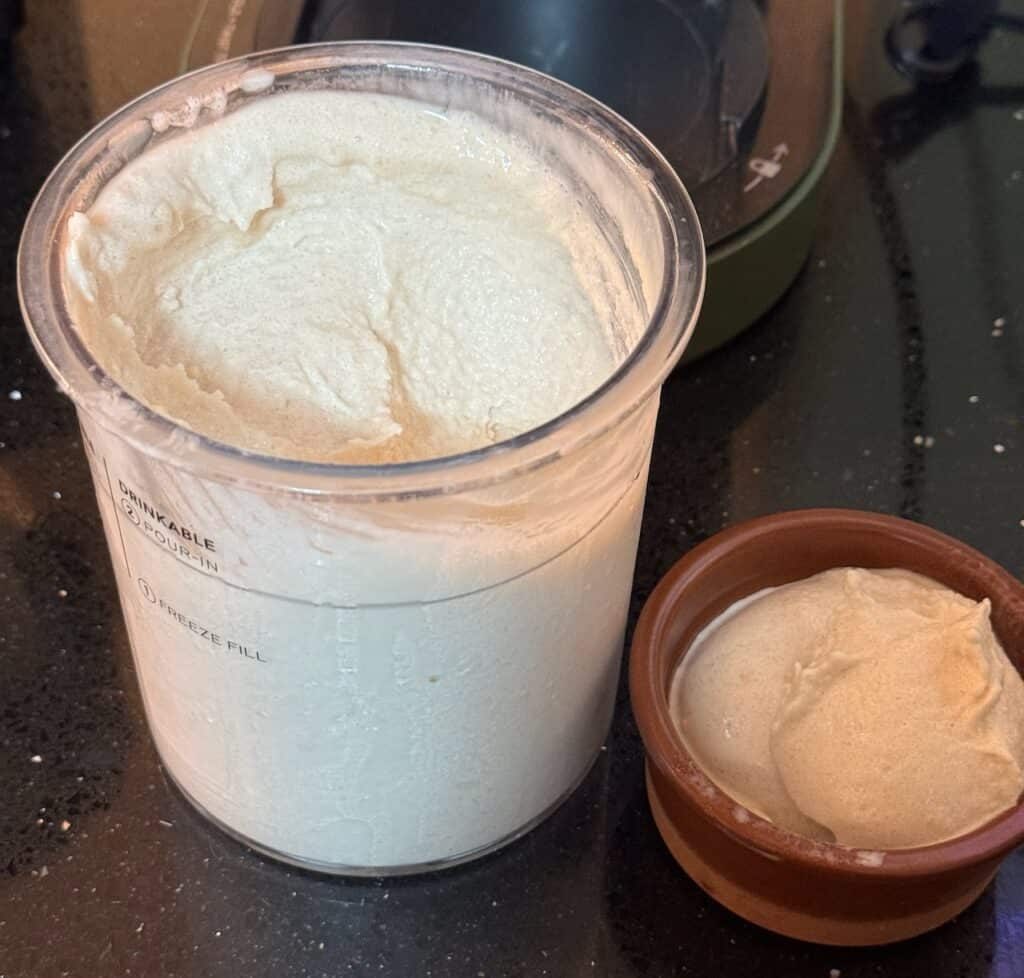
Here are some benefits of making your own non-fat or low-fat ice cream in your Ninja CREAMI:
- Control Over Ingredients: When you make your own low-fat ice cream, you have complete control over the ingredients. You can choose high-quality, wholesome ingredients, and avoid artificial additives, preservatives, and excessive sugars commonly found in store-bought options. There are people who do say that non-fat milk doesn’t make delicious ice cream, but I disagree with that.
- Healthier Option: By using non-fat or ow-fat ingredients and possibly incorporating protein powder or other nutritious additives, you can create a healthier alternative to traditional ice cream. This allows you to indulge in your favorite frozen treats without compromising your health goals.
- Customization: Making your own ice cream allows you to customize the flavors to your liking. Whether you prefer classic vanilla or want to experiment with unique flavor combinations, the possibilities are endless. Plus, you can adjust the sweetness level and texture to suit your taste preferences. I tend to make either a vanilla-based, a chocolate-based or a strawberry-based flavor.
- Cost-Effective: While investing in a Ninja CREAMI machine may require an initial investment, making your own low-fat ice cream can ultimately save you money in the long run. You can make large batches at a fraction of the cost of store-bought options, especially if you frequently enjoy frozen treats. I find that it’s a lot less money than buying ice cream at the store and I enjoy it more because I can control what I put in it.
- Freshness: Homemade ice cream is fresher compared to store-bought varieties, as it doesn’t contain stabilizers or other additives designed to prolong shelf life. Enjoying freshly churned ice cream from your Ninja CREAMI ensures maximum flavor and quality.
- Fun and Creative: Making low-fat ice cream in your Ninja CREAMI can be a fun and creative activity for the whole family. Get creative with flavor combinations, toppings, and mix-ins to create unique and delicious frozen treats that everyone will love.
- Satisfaction of Accomplishment: There’s a sense of satisfaction that comes with making your own ice cream from scratch. Whether you’re a novice or experienced home cook, mastering the art of low-fat ice cream making with your Ninja CREAMI can be incredibly rewarding.
Clean Simple Seats Discount Code:
Use code: SQUAD10 for 10% off your order
Buy:
Ninja CREAMI Deluxe 11 in 1 Ice Cream Maker
BELLA Immersion Hand Blender, Portable Mixer with Whisk Attachment
Probiotic Root Beer
Diet Root Beer
Jell-O Sugar Free Gelatin Vanilla Instant Pudding 1 oz Box – Pack of 3
Fat Free Milk
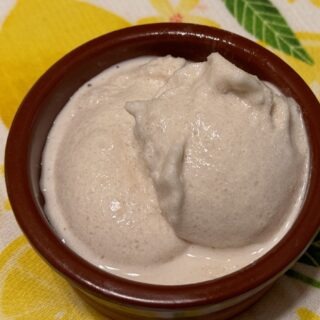
Vanilla Root Beer Float Protein Ice Cream (Ninja CREAMI)
Equipment
Ingredients
- 2 cups of skim milk or any milk of your choice – nut milks are fine if you prefer them
- 1 packet Clean Simple Eats Vanilla protein powder 1.16oz which is 33g. If you use the Clean Simple Eats Powder from a bigger container, that is one scoop!
- 1 tsp of vanilla extract
- 1/2 package package of sugar free vanilla pudding mix
- 1 can diet root beer chilled. I used a probiotic version from VitaLife, but any kind is fine. You could also use a packet of
- 1 tbsp Lankanto Monkfruit Sweetner
Instructions
- Prepare the mix for your Ninja CREAMI: Mix all the ingredients – the skim milk, vanilla protein powder, vanilla extract, and the whole can of the root beer. Blend until smooth with your immersion blender.
- Chill the Mixture: Place the mixture in the refrigerator to chill for about 18-24 hours. I usually just put it in the freezer overnight.
- Assemble the Ninja CREAMI: Once the freezer bowl is frozen and the mixture is chilled, assemble the Ninja CREAMI machine according to the manufacturer’s instructions.
- Run your Ninja CREAMI: Make your ice cream in your Ninja CREAMI. I used the Lite Ice Cream setting (has 4 cycles). I ran it again on mix it 2 more times until it was smooth.
- Serve and Enjoy: Serve immediately and enjoy your Ninja CREAMI Vanilla Root Beer Float Protein Ice Cream!

Related Posts:



[…] 15. Vanilla Root Beer Protein Ice Cream […]