This post contains affiliate links, which means I earn money from qualifying purchases at no cost to you.
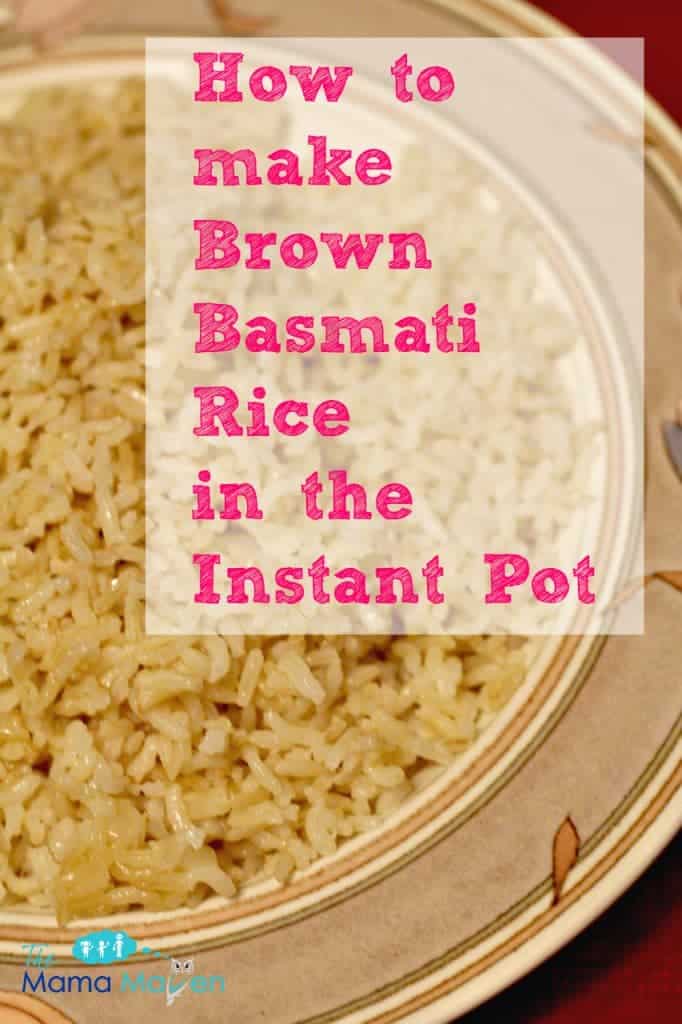
I’m notorious for not being able to cook rice. Until now. I recently got the Instant Pot and it’s made things so much easier (Instant Pot owners, you know what I mean). Here’s how to easily make brown basmati rice (with directions for either 1 cup or 2). Read on!

I’ve been playing around with a few recipes, but some come out very mushy. The way I’ve been making brown rice in the Instant Pot is 2 cups of rice and 2 cups of water. It has so much liquid, so I decided to cut the recipe down to 1 cup water and 1 cup water, adding in some buttery spread. It came out absolutely perfect!

Ingredients:
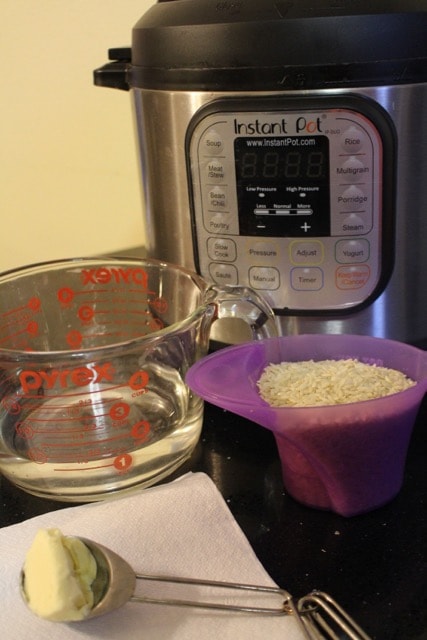
1 cup brown basmati rice
1 cup water
1 tablespoon buttery spread or plant based butter spread
Optional: Spray the Instant Pot with a olive oil spray or put a little olive oil on the bottom to prevent sticking
Instructions:
Add all the ingredients in the Instant Pot
Put on top and set valve to sealing, not venting
Let the rice cook for 22 minutes
After the time is up, do QR (quick release) – which is turning the know to venting and let the steam come out. Use a silicone mitt to turn the vent so you don’t burn yourself.
Serve
Note, when I made this, the rice was much drier and a little stuck to the bottom of the pot. If you spray a non-aerosol spray, it will help (or add a little more water).
Update: If you want to make 2 cups of Brown Basmati Rice, take two cups of Brown Basmati Rice and two cups water or either veggie or chicken broth, put on Manual High Pressure for 21 minutes and do a quick release (watch the steam).

How to Make Brown Basmati Rice in the Instant Pot
Ingredients
- Ingredients:
- 1 cup brown basmati rice
- 1 cup water
- 1 tablespoon buttery spread or plant based butter spread
- Optional: Spray the Instant Pot with oil spray or put a little olive oil on the bottom to prevent sticking
Instructions
- Add all the ingredients in the Instant Pot
- Put on top and set valve to sealing, not venting
- Let the rice cook for 22 minutes
- After the time is up, do QR (quick release) – which is turning the know to venting and let the steam come out. Use a silicone mitt to turn the vent so you don’t burn yourself.
- Serve
- Note, when I made this, the rice was much drier and a little stuck to the bottom of the pot. If you spray a non-aerosol spray, it will help (or add a little more water).


Looks fantastic. I am going to have to try your version.
We added 1 pkg of rice with seasonings, 3 to 4 cups of chopped carrots, 2 onions chopped . Next time add 2 to 3 cups more water and cook it only 15 minuits at the end instead of 30. Delicious.
Oh, I am going to try that!
I made it and rice was absolutely perfect!!! Thanks
Most recipes call for rinsing and soaking the rice. You don’t do that? It makes it so much simpler if you don’t have to rinse and soak.
I don’t rinse or soak it. It still comes out perfect.
My IP won’t allow me to change the minutes with the rice feature. Do you mean in your instructions to select Manual/Pressure cook. Clarification would be appreciated.
Yes, do the manual setting on high pressure.
If I’m doubling the recipe, do I double the amount of water?
If you are doing 2 cups of Brown Basmati Rice, then yes, do 2 cups of water, but do 21 minutes and a quick release. It will be perfect!
Thanks for this recipe! The timing and ratios of water to rice were perfect!
I’m so glad it worked for you.
I have never had brown rice. I know it is a healthy choice than white rice.
It has a slightly nutty taste — which is why I prefer Brown Basmati Rice to regular brown rice.
I don’t understand. Why do so many other recipes call for 6-8 min on hi pressure?
I also wish someone could answer this question….?
Not sure — this is what works for me. I am horrible at making rice and I played around until I could make it with one cup. Then I tried it with two cups of rice by decreasing the time and it worked.
This looks so good and so easy. Honestly I have had an IP on my wishlist forever. I have an old pressure cooker, and dont use it. These look safer and easier.
Thanks so much for this! The Instant pot website has a time chart that is often WAY too short and has been problematic for beans as well as grains. But I watched your movie and was convinced you had found the right method. I DID make a couple changes though… To prevent the sticking you found in the video, I schmeared some coconut oil around the pot like you would with butter or margarine or evoo. I also used a vegetable broth & light coconut milk (1 cup broth, 1/4 cup coco milk) mixture instead of water and a pinch of cardamom and a little coriander. I was making the rice to go with a red lentil curry. Whatever liquid and fat you use, the timing and ratio is just perfect! I will be using this recipe all the time now, with other additives: bay leaves, evoo, salt and pepper, etc. Great base recipe!
Oh awesome! I’m going to try your method with the coconut oil, veggie broth, and coconut milk.
thank you for these comments and suggestions – very helpful!
Rice is so simple to make and always makes a great side dish. Thanks for sharing!